

Garburator Repair usually in one visit
Garburators that won’t turn on, jam, leak, smell or keep tripping the reset, repaired or replaced across Metro Vancouver and the Fraser Valley, 8am to 8pm daily.
Request a service callCall 604-900-2105Common garburator problems, and how we fix them
Jammed, leaking, or smelling bad? These are the faults we see most. Tap a card to see how we fix it.
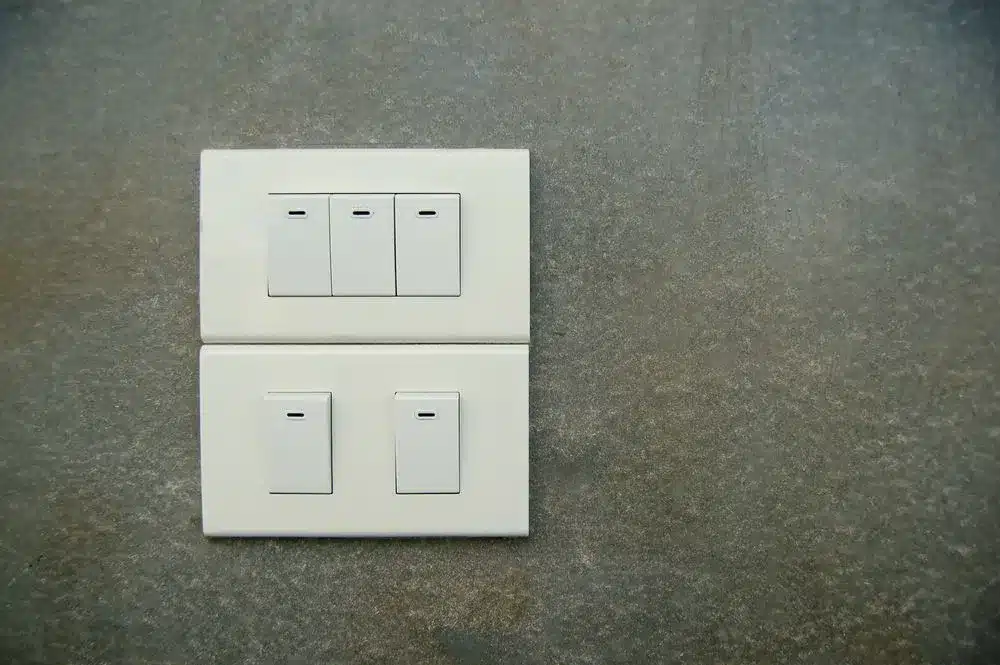
Won’t turn on
Check the wall switch and the breaker, then the reset button. If all are fine, we look at the unit.
Probably the most obvious problem to do with garbage disposal units, a garburator that simply won’t turn on is often a sign of an electrical issue. A garburator’s power supply is sometimes controlled by a regular switch somewhere in the kitchen, which can be accidentally flipped. Ensure that this isn’t the source of the problem, and that the breaker for the garburator’s circuit hasn’t been tripped. Assuming these solutions don’t fix your problem, it’s a good idea to have a technician take a look at it. Your entire garbage disposal unit may simply have reached the end of its lifespan and burnt out, which will mean it's time for a replacement.
Work through it in order, because the cheapest causes are also the most common. First, check the reset button on the underside of the unit — a small red or black button that pops out when the motor overloads. Press it firmly and try again. Second, check the breaker, since many garburators share a circuit with other kitchen outlets. Third, check the switch itself, which fails more often than people expect.
The distinction that matters is between silence and a hum. Complete silence means no power is reaching the motor: reset, breaker, switch or wiring. A hum with no movement means power is arriving and the flywheel is jammed, which is a different fix entirely. Never put a hand into the chamber to find out which — cut the power at the breaker first, not just at the wall switch.
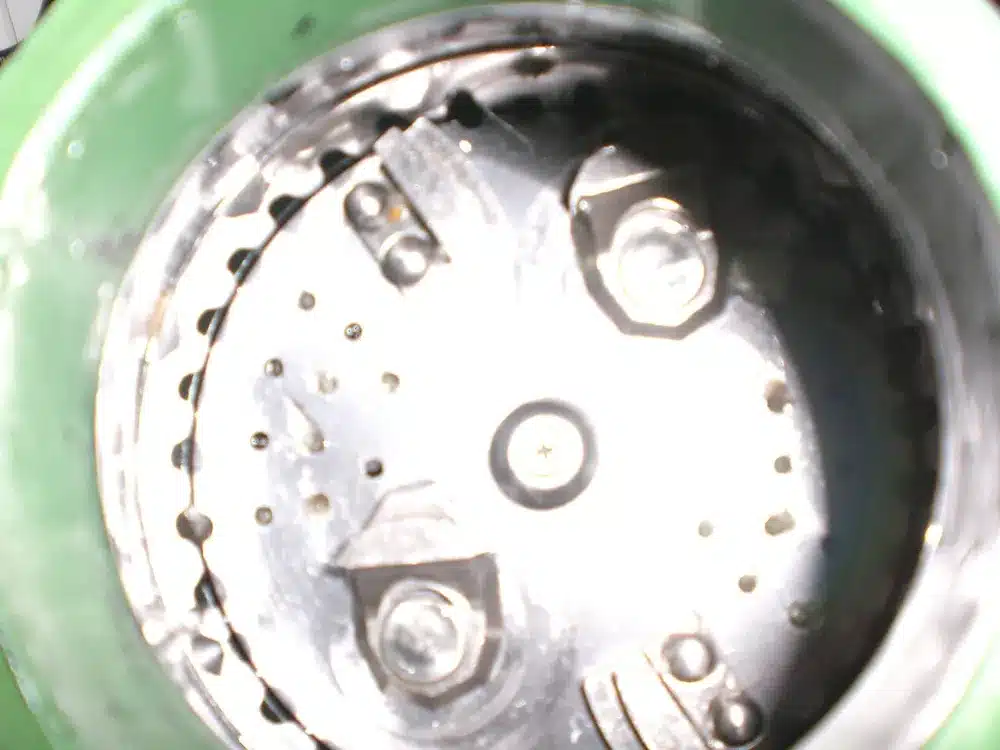
Jammed or slow grinding
A jammed flywheel or dull grinding parts. We free the jam or replace worn parts.
When operating normally, your garburator should be making short work of just about anything you toss into it, grinding food matter of all types in a matter of seconds. If you notice your garbage disposal unit is taking an unusually long time to handle normal amounts of food waste, it usually means one of two things.
Culprit number one is likely to be a dull set of blades. Although the grinding blades will get duller as time goes on, buildup of food debris will also cause them to stop working as effectively. Culprit number two is likely a clogged drain just past the garburator itself. In both cases, the time it takes your unit to grind waste, and drain water, will increase drastically. The best way to prevent your garburator from becoming dull, or taking too long to drain, is to avoid using it for a few key types of food waste:
- Grease and fats - From bacon grease to butter, you should never dump these down the drain, whether or not you have a garburator. Not only can these back up your pipes and create major plumbing-related headaches down the line, but they can easily gunk up the grinding blades of your sink garbage disposal unit and stop them from working effectively.
- Stringy or starchy food waste - This list of fibre-rich foods are great for your diet, but terrible for any electronic garbage disposal system. Because of the long, durable fibres in certain food waste, as well as the high starch content in others, your grind ring can become clogged or tangled up, causing it to not work properly. Some of the main offenders for fibrous and starchy food to avoid tossing in the garburator include:
- Banana peels
- Corn husks
- Potato skins
- Lettuce
- Celery - Bones - This one seems obvious, but even the smallest chicken wing bone should never, ever go down your sink's drain. Your garburator isn’t designed to grind up bones to the degree that they’ll need to be to drain properly, and is more likely to fracture it into countless sharp fragments that are sure to cause later issues.
- Fruit pits - Pits of any kind will simply not break down much, and are much more likely to create a serious blockage in your pipes.
- Non-food waste - It should go without saying, but having a garburator is not an excuse to try to flush non-food garbage down the drain. Avoid plastic bags, wooden skewers, styrofoam, and anything of that nature.
- Excessive amounts of anything - Overall, you should be careful to not overestimate the capabilities of your garbage disposal unit. It’s perfect for getting rid of a few things at a time, or clearing the bottom of your sink after a round of dishes. But overuse of a garburator is sure to overload the system, and either stop your unit in its tracks, or create a blockage in your plumbing.
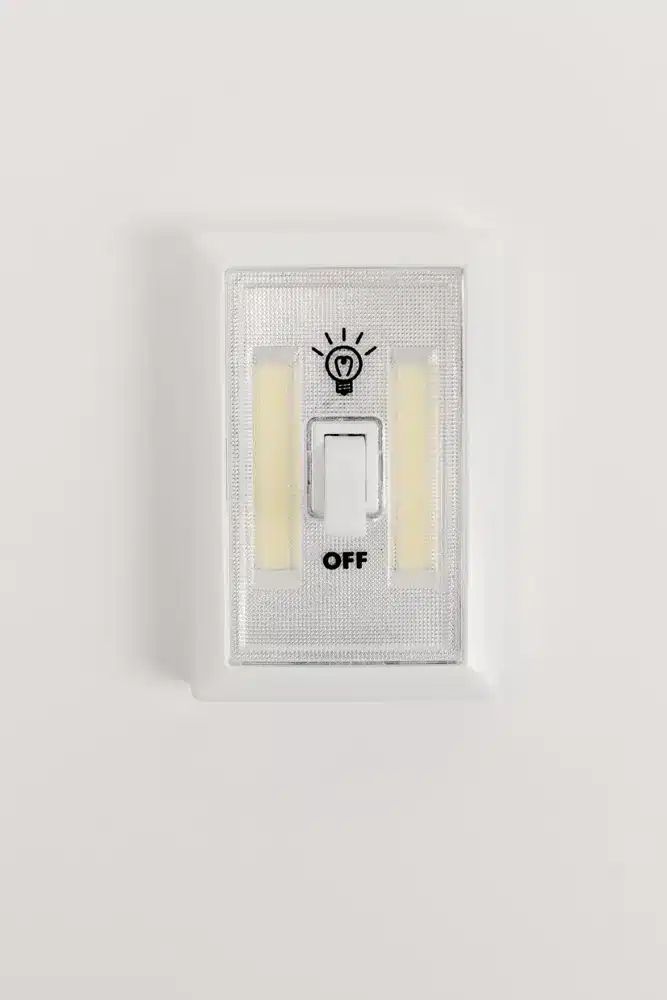
Reset keeps tripping
Repeated tripping is the motor warning you: usually a partial jam or an overloaded motor.
The reset is a thermal overload protector, and it exists to cut the motor before it burns out. Tripping once after a heavy load is normal. Tripping repeatedly is the unit telling you something is wrong, and resetting it again and again is treating the warning rather than the cause.
The most common reason is a partial jam: the flywheel can turn, but only against resistance, so the motor draws too much current and heats up. Clearing the chamber usually resolves it. Chronic overloading does the same thing — feeding waste in faster than the unit can clear it, or without enough cold water running. If the chamber is clear, the water is running and it still trips within a minute, the motor windings or the bearings are failing and the unit is near the end of its life. At that point replacement is generally the better spend.
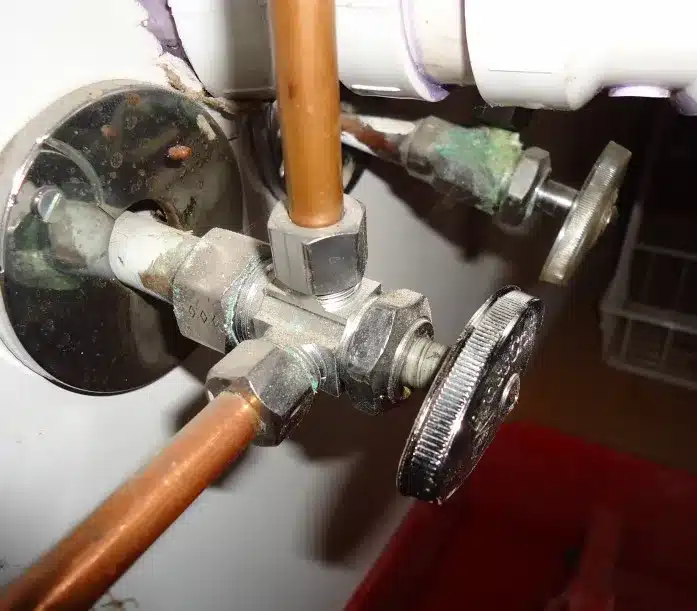
Leaking
An O-ring, a loose connection or a corroded housing. Often a fairly simple fix.
A leaking garburator is a very gross, but a fairly simple fix. Depending on where the waste water concoction is leaking from, it may be as simple as replacing an O-ring seal, or else tightening connections between the unit, your sink, and your plumbing line. If your sink garbage disposal unit is leaking, you run the risk of creating a much more complicated and expensive problem by continuing to use it. Until you’re able to have a professional take a look, we recommend sticking to the compost bin.
Where the drip appears narrows it down quickly. Water from the very top, where the unit meets the sink, usually means the mounting assembly has loosened or the plumber's putty seal under the sink flange has dried and shrunk — both straightforward to redo. Water from the side points at a hose connection, most often the dishwasher inlet or the discharge pipe gasket, and those are inexpensive parts.
Water dripping from the very bottom of the unit is the one that matters. That normally means the internal seal around the motor shaft has failed, or the grinding chamber has corroded through from the inside. Neither is economically repairable, and a unit leaking from the base should be replaced rather than patched. Put a dry sheet of paper underneath and run water for a minute — the wet spot will tell you which of the three you are dealing with.
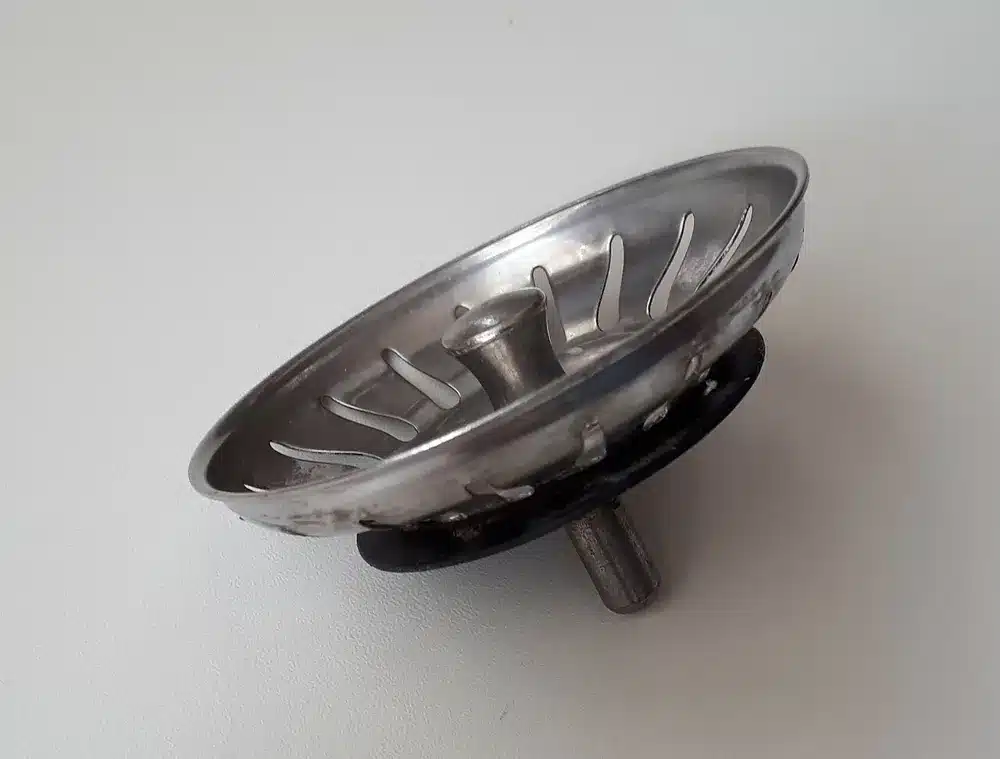
Strange noises
Metal-on-metal grinding usually means something hard is caught in the chamber.
There’s no denying that a sink garbage disposer is a noisy bit of machinery, but you should be able to tell when a noise is normal, and when it’s a sign of something wrong. The most important sound to be on the lookout for is any serious grinding, especially if it sounds like metal on metal. This usually means some kind of foreign object has fallen in, such as a piece of cutlery, jewelry, or a skewer or toothpick. If it’s clear of objects, something in the unit itself may be out of place. Again, your technician will disassemble it, and make sure everything is sitting where it’s meant to be, or else recommend a replacement unit.
The sound tells you most of what you need. A sharp metallic rattle usually means something foreign is loose in the chamber — a bottle cap, a teaspoon, a bone fragment. Cut the power at the breaker, look in with a torch, and lift it out with tongs rather than fingers.
A grinding or screeching noise that is always present points at the impellers or the shredder ring wearing, which is usually age rather than abuse. A loud knocking during operation can mean a broken impeller, which leaves the flywheel unbalanced. And a humming that rises in pitch without the unit clearing waste is the overload winding up towards tripping the reset. None of these improves by continuing to run it; each run adds wear to parts that are already struggling.
Water backs up into the sink
Run the tap with the unit off: that tells us if the blockage is in the unit or further down the drain.
If the sink fills when you run the garburator, the first question is whether the blockage is in the unit or past it. Run the tap with the garburator switched off: if the sink still drains slowly, the unit is not the problem and the obstruction is somewhere down the trap or the branch line. If it drains fine until you switch the unit on, waste is not clearing the chamber.
The usual offenders are predictable. Coffee grounds and eggshells settle into a dense sludge that water will not move. Starchy waste — pasta, rice, potato peel — swells and forms a paste. Fibrous material such as celery or corn husks wraps around the impellers instead of being cut. Grease poured down warm then congeals further along the line. In a double sink, water rising in the other basin is a good sign the blockage is downstream of the tee rather than in the disposal at all. Chemical drain cleaner is a poor idea here: it rarely clears a packed line and it makes the eventual mechanical fix hazardous.
Bad odour
Food trapped in the unit or the pipe below. We take it apart and clean it thoroughly.
A garburator is a handy kitchen tool, but not when it makes your entire kitchen smell like a compost pile. If your unit is emanating a foul odour, there’s probably some kind of blockage in the pipes, or in the unit itself. If this is the case, you’ll need a garburator repair technician’s help to remove, disassemble, and thoroughly clean the unit, as well as clear the pipe below it.
The smell almost never comes from the drain itself. It comes from food residue stuck to the grinding chamber walls, the underside of the splash guard, and the gap behind the rubber flaps — all places water never properly reaches during normal use. Lifting the splash guard and scrubbing its underside with a brush deals with more of the problem than anything poured down the drain.
After that, grinding a tray of ice cubes with a little coarse salt scours the chamber, and a halved lemon or lime afterwards helps. What not to do is pour bleach or a chemical drain cleaner in: neither is designed for a sealed grinding chamber, both attack the rubber components, and caustic cleaner sitting on top of a jam is genuinely dangerous for whoever opens the unit next. If the smell returns within days, the likely cause is waste sitting in a partly blocked drain line below the unit.
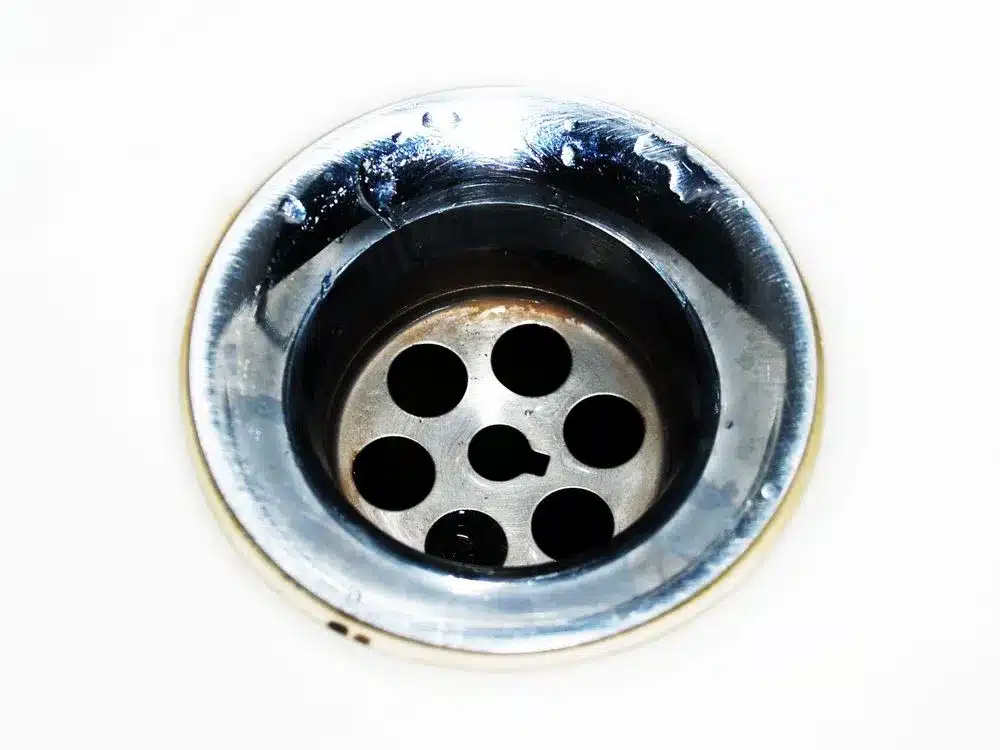
Loose or vibrating
A loose mounting ring at the sink flange. Usually a re-tighten, but don’t leave it.
A garburator hangs from a mounting ring clamped to the sink flange, and that assembly works loose over time under the twisting force of the motor starting. A unit that rocks when nudged, or that has started to vibrate noticeably in use, usually just needs the mounting ring re-tightened — but it should not be left, because the movement gradually breaks the seal at the sink flange and starts a leak.
Check the discharge pipe at the same time. Movement at the unit puts strain on that joint, and a slow drip there is easy to miss inside a dark cabinet until the base of the cupboard swells. If the mounting ring will not hold even when tightened, the sink flange seal underneath has usually failed and the unit needs dropping and re-seating properly — not difficult, but awkward enough lying on your back in a cabinet that most people would rather not.
More about garburator problems
Garburators, or garbage disposal units, have long been portrayed in entertainment as some kind of evil appliance, with an apparent internal desire to devour the unaware dish washing person’s fingers. In reality, it's very unlikely to lose a hand to your sink’s garbage disposal. That being said, it doesn’t change the fact that safety and care are mandatory when it comes to your unit. That's why we always recommend you get professional assistance with any troubleshooting, maintenance, or repairs that involve your kitchen's garburator.
A garburator can be a handy way to dispose of leftover food waste without scooping it up into your compost bin by hand. However, you may find yourself in a messy situation when you go to switch on your garburator and run into a snag. In the course of our work repairing garburators across all of Langley BC, Vancouver, the Tri-Cities, and the Lower Mainland, we’ve run into a few major issues again and again. Some of the most common garbage disposal unit issues we see are:
Garburator repair near you
Appliance repair across Metro Vancouver and the Fraser Valley — from West Vancouver to Agassiz.

Vancouver, North Shore & Richmond
- Vancouver
- West Vancouver
- North Vancouver
- Kitsilano
- Dunbar
- Gastown
- Yaletown
- Richmond
Burnaby, Tri-Cities & Ridge Meadows
Delta, Surrey & White Rock
- Delta
- Tsawwassen
- White Rock
- South Surrey
- Surrey
- Guildford
- Fleetwood
- Cloverdale
Langley & the Fraser Valley
- Langley
- Mission
- Abbotsford
- Chilliwack
- Cultus Lake
- Rosedale
- Agassiz
- Harrison Mills
Brands we repair
Every major brand sold in Canada. Pick yours for the faults we see most often.


